How to Install Drip Irrigation
How to Install Drip Irrigation
The drip-irrigation system is the ideal solution for people looking to cut down on time and expense while keeping plants in good health and happy. With some useful advice from landscape experts, you can put in place your own drip irrigation system in only two easy steps.
What is Drip Irrigation?
Drip irrigation makes it easier to take care of watering plants with a variety of strategically installed hoses, valve emitters, and timers. When the system is turned on, the water flow is released in a steady, slow flow, where it falls onto the soil's surface over the plant's roots.
Benefits of Drip Irrigation
There are many ways you can water your garden and lawn that range from hand watering to using an automatic sprinkler. Although each method can be effective, none is as efficient as drip irrigation. They provide the following benefits:
- Conserve water: Since the water is directly delivered to the surface of the earth, little or none of the water is lost to evaporate. The drip-irrigation system could utilize up to 50% less water than conventional methods, thus reducing the carbon footprint of your home and the cost of water per month.
- You will save time: There is no setting, moving of sprinklers, or spent unwinding or winding the garden hose.
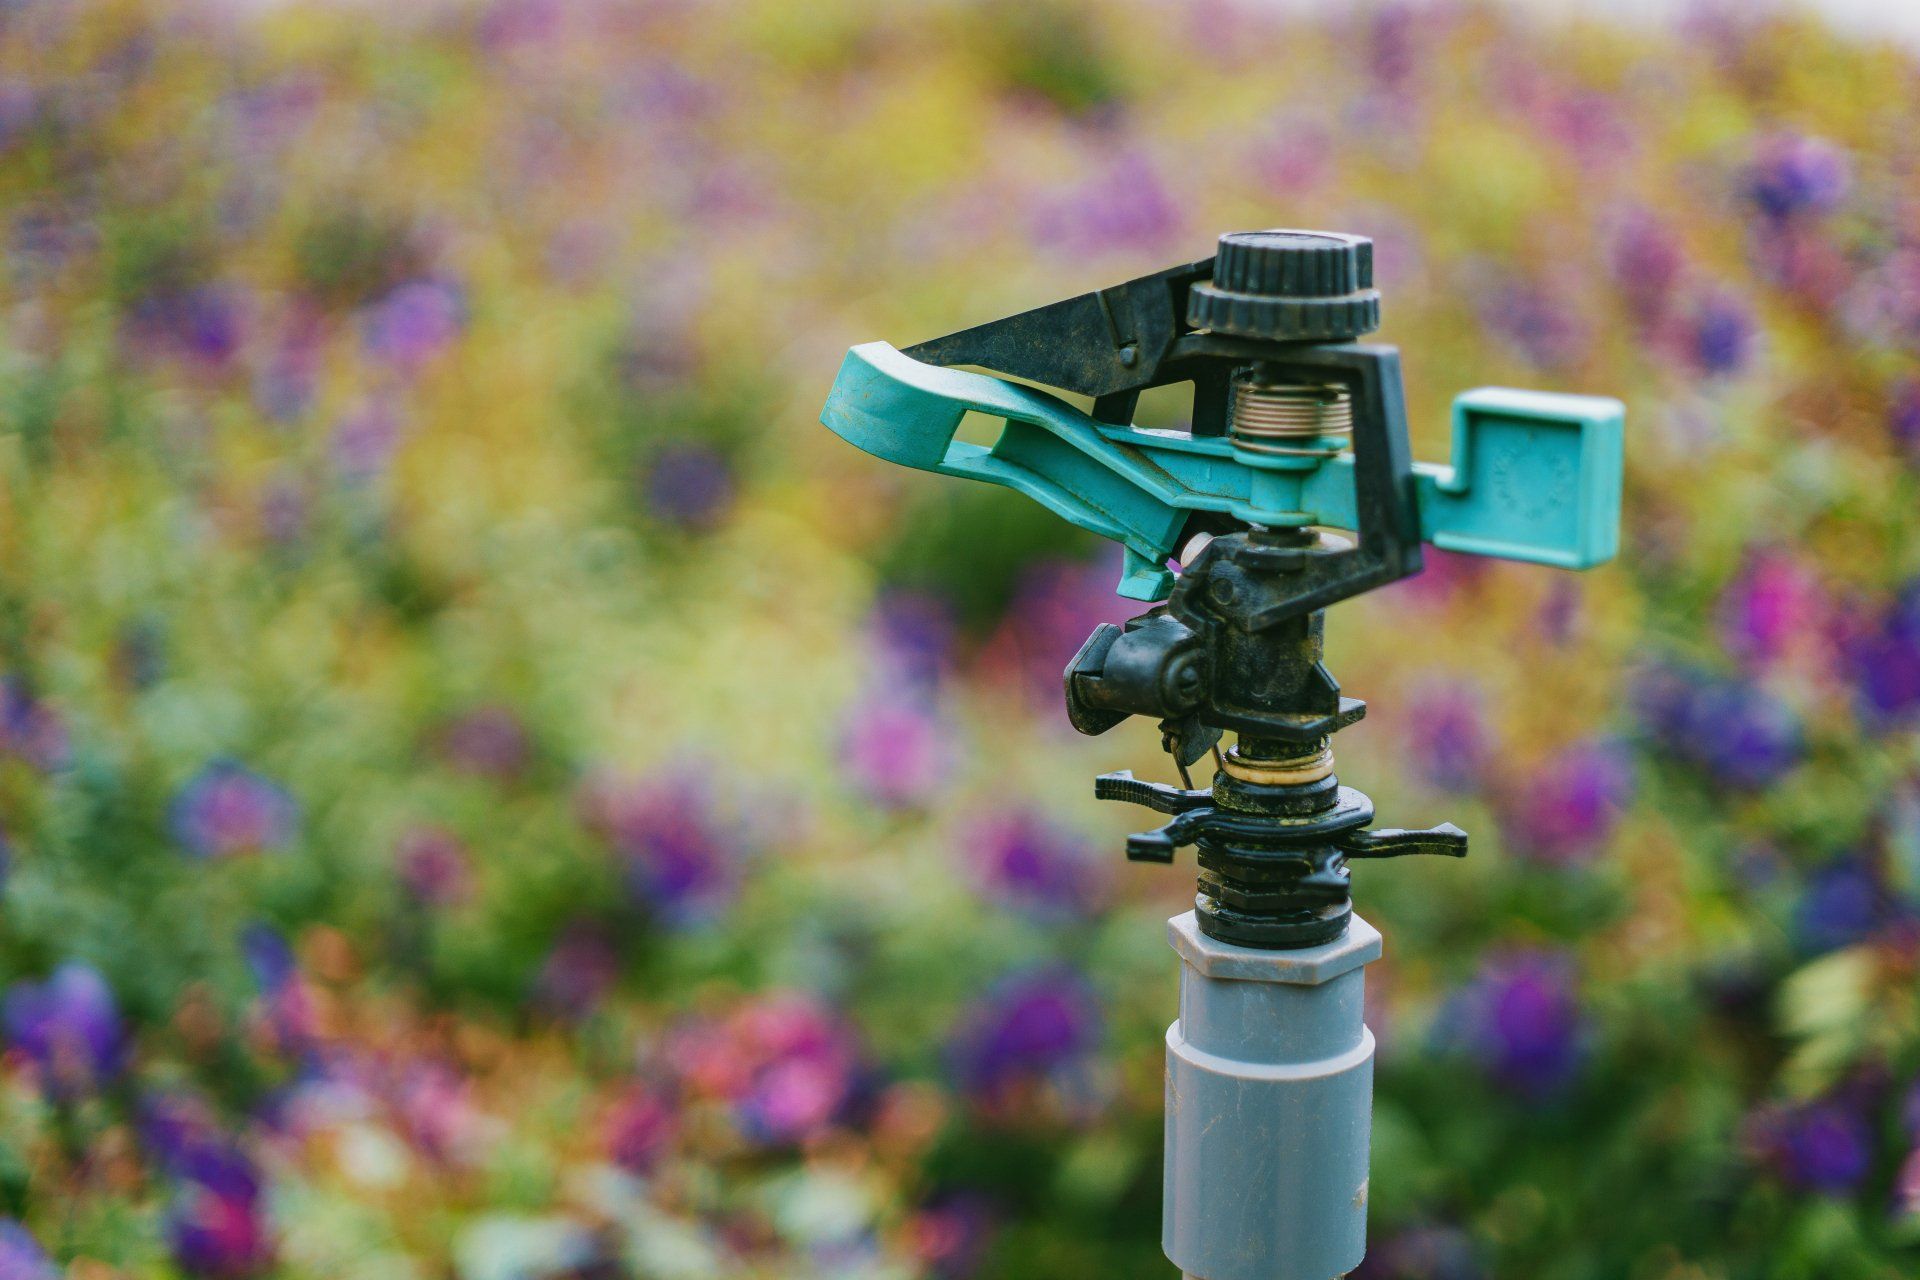
- Eliminate drift: Drift is when the wind transports the water you want to your plants. It is the most common scenario after the water has been sprayed out of an irrigation sprinkler or hose.
- Simple to set up: Your DIY drip irrigation system is installed in just a couple of hours.
- Flexible: As your landscape changes or expands, your irrigation system is able to be altered as needed.
- Increase plant growth: Through drip irrigation, it helps prevent soil erosion as well as loss of nutrients. Additionally, because the water is slow to be delivered over a longer time, it will help create and ensure the health of your root system.
How to Install Drip Irrigation
The following items are needed. You can also purchase the drip irrigation kit from many hardware stores for home improvement:
- Garden hose
- Automated timer
- Hose bib (Y connector with a shape)
- Lines of emission
- Backflow stopper
- Emitters
- Hole punch tool
- Filter
- Tee fitting
- Barbed connectors
- Clamps for the end of the hose
- Tubing stakes
- Pressure regulator
- T-fittings
- Plastic tubing of 1/4-inch diameter
- 1/2-inch plastic tubing
- Tape measures
1. Create a plan.
Begin with a sketch and trace the garden area in which you'll be installing an irrigation device. Find the space, and then determine the flow rate that is required to ensure that water is available to each plant in the space.
2. Install the faucet.
Install the Y-shaped connector to the faucet and connect to it the filter, timer, adapter, pressure regulator, and backflow stopper.
3. Set the tubing out.
The 1/2-inch tube should be connected with the faucet and spread it over your garden area according to the plan you have drawn. Make use of T-fittings to make branches or 90-degree bends.
4. Make sure to connect the emitters.
Utilize a hole punch to create holes in the tubing at the proper intervals. Then, you can insert an insulated connector with a barbed into each and attach an inch of tubing enough to extend to the base of the plants. Attach a dripper that has the amount of flow you desire and secure the tubing with stakes to make sure it's secured.
Ready to work with Landscaping Experts Saskatoon?
Let's connect! We’re here to help.
Send us a message and we’ll be in touch.
Or give us a call today at 306-992-1331
More Tips, Tricks & Tools